Expert Tips & Gear for Every Off-Road Adventure!

About
Welcome to Off-Road Built, your go-to destination for building the ultimate off-road rig. Created by Fyrelore, Off-Road Built was designed with one goal in mind: to offer an easy, newbie-friendly guide for enthusiasts looking to transform their vehicle into an off-road beast. I know the process of building an off-roading rig can feel overwhelming, so I break it down step-by-step, providing straightforward advice and trusted product recommendations to help you along the way.
Whether you’re just getting started or looking to upgrade your existing rig, Off-Road Built is here to make sure you get the most out of every adventure. I am passionate about the off-road community and want to make it as accessible as possible for everyone, no matter your experience level. Ready to hit the trails? Let’s build something amazing together!
Shall we begin?
Suspension

Here’s the gist moving forward: I’ll provide a list of general parts, explain why these parts may or may not be important for your build, and give personal suggestions on what to buy. Feel free to do some extra research, of course! At the very least, having everything listed in one place should make figuring out your next steps 100x easier.
Lift Kit (2.5″ to 4″) – you really don’t need more lift than this, and anything more will be mostly for cosmetics than utility. I have nothing against people who prefer the cosmetic route, but I personally am focused on function over form and that is what most suggestions on this website will focus on. A modest lift gives you the ground clearance you’ll need without compromising on-road handling. For brands, I highly recommend BDS. Another popular option is Rough Country, though it can be a controversial choice.
Off-Road Shocks – Depending on the lift kit you get, you may or may not need to buy some new shocks capable of handling your adventures. I know for the kit I’m getting for my truck, it only comes with new rear shocks, Fox 2.0 to be specific. So, I’ll be upgrading my very old and worn front struts with some Fox 2.0 coilovers. Bilstein 5100 is another pair of shocks I would recommend. I know some people may be curious about King shocks, but I feel they are overkill for 99% of drivers.
Upper Control Arms – Another part that your lift kit may or may not come with. If it doesn’t, it’s generally a good idea to beef up those control arms anyways. With a lift kit, you’ll want the better articulation that comes with using properly designed UCAs, and the extra durability to avoid any mishaps on the trail. I personally am going with the Core 4×4 UCAs, especially since they’re one of the few brands still designing for my generation of truck. Other good brands for various vehicles include SPC, ICON, and Camburg.
Sway Bar Disconnects (optional) – My vehicle is too old to have an electronic disconnect like some of you fancier folks, and no one seems to have made on for my gen of Ram trucks… Oh well, I’m personally not going to worry about it. Since my off-roader is also my daily, I will keep the sway bar on until I face an obstacle where it’s absolutely necessary. For those wondering what a disconnect is used for: it helps with articulation on trails by temporarily disconnecting the sway bar. Driving around town with the sway bar disconnected causes large amounts of body roll, thus the reason why people buy specialized parts that make it easier to disconnect and reconnect your sway bar. No real recommendations here, do your own research 🙂
Tires and Wheels
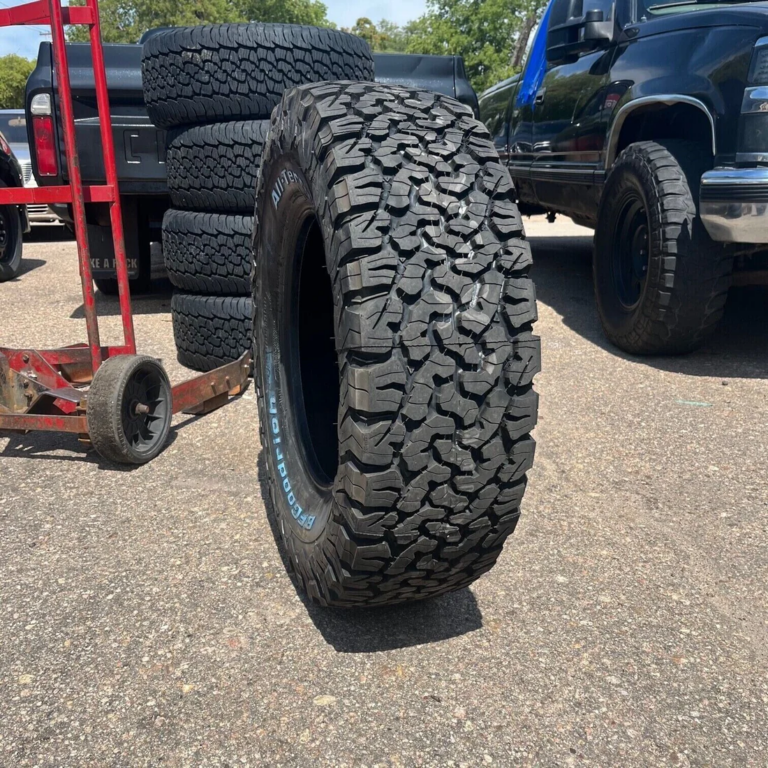
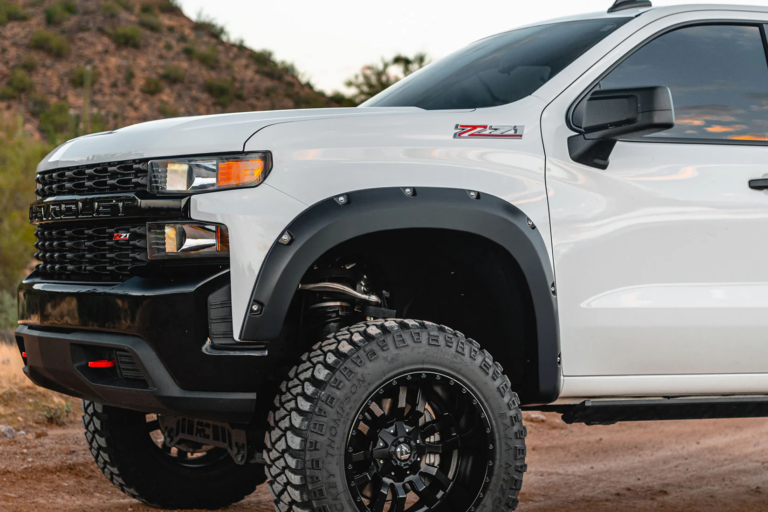
All-Terrain or Mud Tires (33″ to 35″) – Now for everybody’s favorite part of the build: wheels and tires! Usually the first thing people get, and, admittedly, also the first part of my build. I personally went with some General Grabber mud tires, 35″. Realistically, I would recommend some all-terrains for most people, as they offer performance for both street and off-road. BF Goodrich KO2 or the Falken Wildpeak AT3W tires are great choices. Go with 33″ tires for the street and off-road balance, or 35″ tires for better off-road performance (but make sure your vehicle is lifted or be ready to cut a lot of plastic and metal…)
Aftermarket Wheels – Okay, I’ll admit I did kind of choose form over function for this one. In my defense, I have had no issues with the wheels after 1000+ miles of off-roading! I know that’s not a lot for some people, but I feel if there were issues to worry about, I would have faced some by now. So, the rule I broke: I got 20″ wheels instead of something smaller. You typically want a smaller wheel size for more sidewall, especially when airing down. I haven’t had any issues, personally, but I would highly recommend not going any bigger than 20″. Actually, I would recommend not using 20″ wheels if your tires are smaller than 35″. This should ensure a good balance of wheel-to-sidewall. As for brands, can’t go wrong with Method Race Wheels or these sick Fuel Off-Road wheels.
Recovery Gear
Now you’ve gotten the important basics out of the way, your rig is ready to start off-roading! Actually, you should’ve been out on the trails even while your vehicle was still stock. No better way to learn what you actually need than by getting out there and getting dirty. Maybe you don’t need a 4″ lift and aftermarket wheels, but you should definitely invest in the recovery gear on this list!
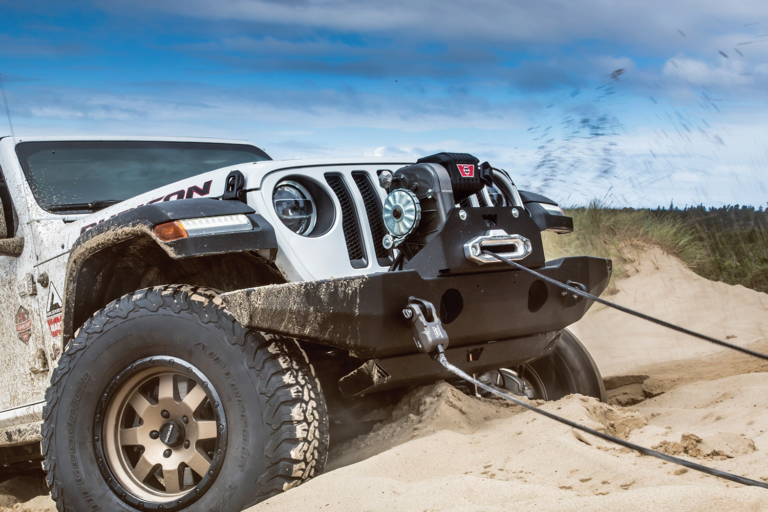
Winch (10,000 to 12,000 lb) – Ah! I’ll admit, while you should definitely buy a winch as soon as you can, you’ll need to make sure you have a good bumper to hold it in. We’ll get to that in the next section. Just get something known to be reliable, like a Warn or Smittybilt, with synthetic rope since it’s known to perform better and less likely to break. Practice using the winch so when (not if) you get stuck you’re not scrambling trying to figure things out.
D-Rings and Tow Points – There are many ways to install a good recovery point on your vehicle, and it seems most off-road focused vehicles are coming with extra features straight from the factory. If you decide to invest in a heavy-duty bumper, like I will be doing, obviously make sure they come with good tow points on the bumper. You can also buy hitch attachments with D-ring shackles to create a recovery point. Don’t get swept up in the marketing and overspend on this — ARB makes a great shackle for only $30.
Hi-Lift Jack and Mounts – People will debate back and forth forever on whether a Hi-Lift is worth it, or if there are better options out there. I think the fact that Hi-Lift has become quite a fashion accessory for certain groups doesn’t help its reputation either. Personally, as someone with a large, heavy truck that’s just going to get heavier with upgrades, I’m going with the Hi-Lift Extreme. Feel free to get a good mount to attach it to your vehicle, but for all that is good and holy, DO NOT MOUNT IT TO YOUR HOOD!!!?!!?
Armor and Protection
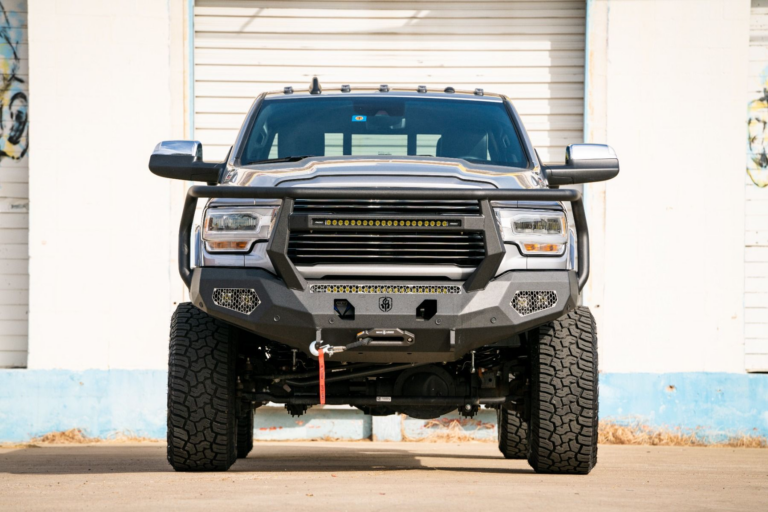
Front and Rear Bumpers (w/ winch mount) – What screams true off-roader than a sick-ass heavy-duty bumper?? No real strong rules here: go with whatever looks good to you, BUT, make sure you at least have a spot to place a winch in the front. There are rear bumpers that come with a winch spot, too; up to individual preference if you want a rear winch. I’m personally sticking with Road Armor for my front and rear bumpers. ARB, as usual, is another great brand for off-road bumpers, if they make one for your vehicle.
Skid Plates – Some lift kits come with skid plates already, such as the BDS lift mentioned at the beginning. Still, it wouldn’t hurt to look under your vehicle and get a good idea of what’s actually protected and what’s not. You’ll definitely want to make sure your most critical components are protected, such as the transmission and transfer case. I found this pretty good skid plate set from Coastal Offroad for my Ram. Brands like ARB and RCI Offroad also offer sturdy options for other vehicles.
Rock Sliders – If you like being able to close your doors properly after a day of off-roading, you’re definitely going to want to invest in some sliders. Rock sliders protect your rocker panels from damage on trails, and trust me: it’s easier than you think to damage those panels. It seems the best companies to get quality sliders from are usually fab companies, such as these from Rocky Road. Some more popular vehicles do have more options to pick from that don’t require weeks of waiting, like these rock sliders for Jeep JKs.
Bed Protection – Of course, this advice is mostly for the truck owners out there. Not really a necessary component, but if you’ve ever had to move gear around in the rain, or even when the bed is just a bit dusty, you’ve probably experienced how surprisingly (and dangerously) slick the bed is. I personally like not sliding around everywhere when I’m moving things around in the bed. I also like it when my gear isn’t sliding in a million directions when I’m driving. I’m going with the DIY Herculiner spray-on bed liner. LINE-X is also a popular option if you have a shop near you.
Drivetrain and Power
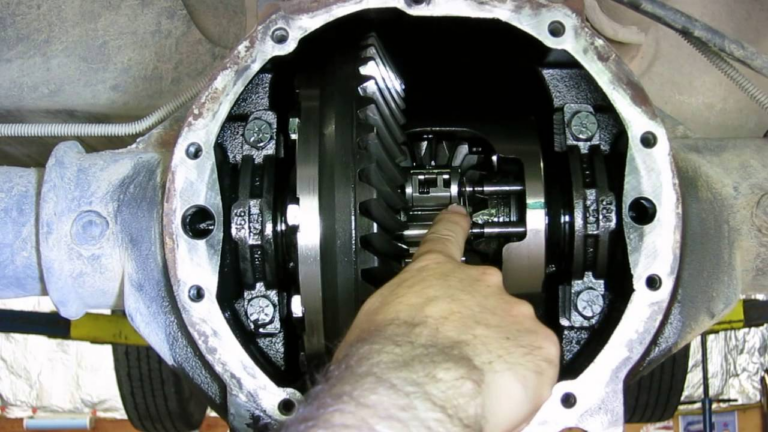
Locking Differentials – Another controversial subject: locking vs limited slip differentials. Without getting too into the weeds, first be honest with yourself on how much you’ll truly be off-roading your vehicle. Is it a daily that will maybe see mud once a month? Get an LSD. Do you and your rig live, breathe, and eat dirt, mud, and snow? Get a locker. While my current rig is my daily, I get out in the mud as frequently as I can, so I’m personally going with a locking differential in the rear. Specifically, I’m going with the Eaton Detroit Locker, but ARB also makes an awesome air locker.
Re-gear the Axles (4.56 or 4.88 gears) – Honestly, this should probably be one of the first things you do after upgrading to bigger tires / heavier wheels. I mean, you’ll be fine if don’t do it immediately, but on- and off-road performance will be much better when you do. Better torque and better acceleration, what more could you want? The actual amount you want to re-gear to depends on what axle and diff your rig already has. You can usually input your VIN into any number of VIN sites and get a build list of your vehicle, including whatever gearing options your vehicle came with. Since my Ram came with 3.92, I beefing up the diff with the Yukon Gear & Axle 4.88 ring and pinion.
Cold Air Intake & Exhaust – People do kind of go back and forth over the usefulness of a CAI. Worst case, it doesn’t really improve anything but it does make your engine sound more aggro. From what I understand, CAIs work best with other engine performance-based mods, which is why I’m grouping a performance exhaust with it. These mods will help your engine breathe with better airflow, and improve power delivery in return (especially great if there’s a lot of mud around you). Personally, I’m going with the classic K&N Cold Air Intake, and, after listening to a lot examples, the Magnaflow Off-Road Exhaust. Since we are building an off-road rig, I highly recommend that whatever exhaust you choose it’s a dump exhaust. I’ll also mention that Flowmaster’s off-road exhaust was in a close second! Go with what sounds best to you.
Lighting
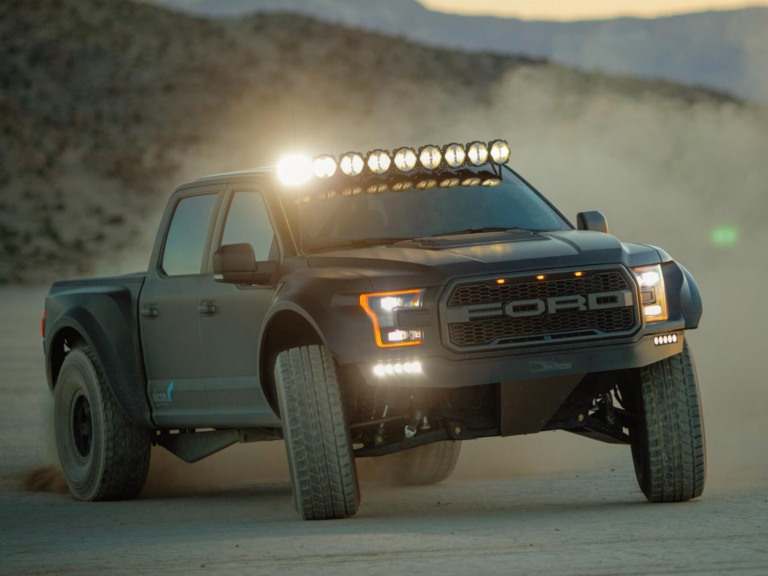
LED Lights and Spotlights – There’s so much to go over when it comes to lights, I’m just going to focus purely on what I believe is necessary. Good quality lights pointed in the right direction are invaluable for off-roading. For city slickers not used to being out in the woods, it’s going to get waaay darker than you’re expecting. So, to start off: I don’t care much for light bars, so those won’t be mentioned anywhere. Starting from the bottom up, we’ll want some good quality fog lights from Baja Designs. Next, some A-pillar spotlights for some extra visibility above your headlights.
These next lights are purely optional/aesthetic, unless you truly think you need the extra lighting. I’ve always been a fan of old-school rally lights, so my plan is to get 4-6 rally lights to install on a chase rack behind the cab of the truck. Lastly are rock lights, which can genuinely be helpful when dealing with a gnarly rock garden late at night.
Aftermarket Headlights and Taillights – This option is best if you have older, stock headlights that can barely shine 5 feet down the road (raises hand). Obviously, being able to see better is safer both on- and off-road. Go with whatever appeals to your sense of aesthetics, just please please please properly adjust your headlights so they’re not blinding everyone around you. The world’s bad enough, be a good person. That said, I’m going with AlphaRex for my headlight and taillights.
Interior and Convenience
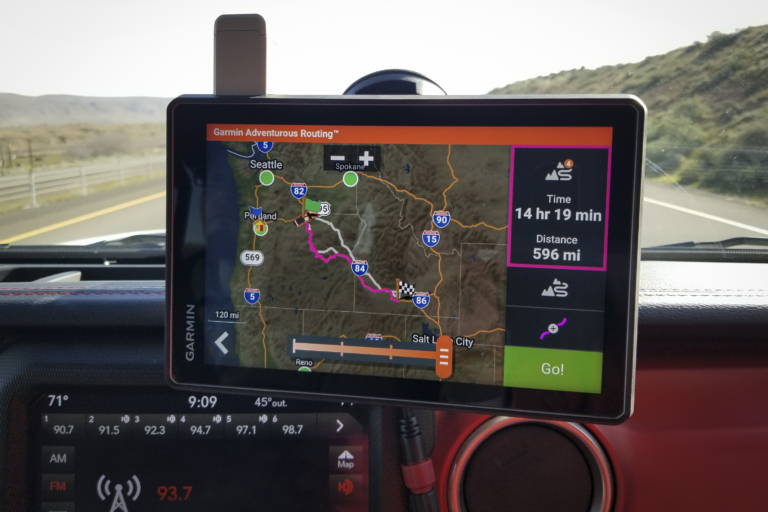
Off-Road Navigation System – Crazy how quickly this niche of GPS programs has developed! You should always keep some paper maps in your glovebox as backup, but you’ll quickly find the utility in these little systems to be invaluable. There’s many brands jumping on the bandwagon these days, but I’m going with the tried and true Garmin brand of GPS.
CB Radio/GMRS Radio – If you didn’t know already, cell phones kind of suck when you’re in the middle of nowhere. Radios make a good alternative to trail communication, especially if you’re stuck and need to try and see if there’s anyone close by who can help. I’m going with Midland’s radio systems since they’re the most widely used and trusted. Make sure you’re getting an antenna kit with whatever system you go with.
Onboard Air Compressor – After your first few experiences with off-roading, your back and butt may be sore from being bounced around in every direction. Airing down helps make the ride smoother, and provides more grip as you increase the surface area of your tires. Having an onboard air compressor is an invaluable way to ensure you have a way to quickly air up and down without needing to stop by a gas station constantly. Can’t go wrong with an ARB.
Braking and Steering
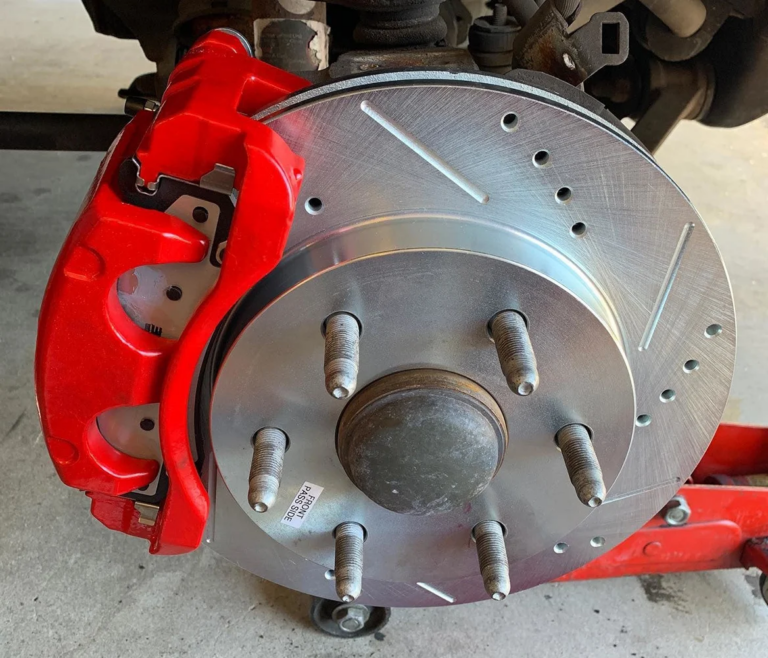
Brake Upgrade Kit – You most likely have heavier wheels and tires on your rig by now, and now you need something that can stop that extra weight. I feel brakes can be too easily overlooked when discussing off-road builds, but upgrading to a heavy-duty brake kit is such a quick and simple process (assuming your brakes aren’t rusted on, anyways). I’m going with Powerstop Truck and Tow brakes for the front and rear. EBC Brakes seem highly praised, too.
Steering Stabilizer – This is really for the bigger vehicles out there, like full-size trucks, or those using oversized tires (think 37″+). The stabilizer will help reduce bump steer and keeps your handling predictable, which becomes valuable when you’re driving around pothole-ridden streets. BDS comes with a steering stabilizer option if you’re using their lift kits. Else, check out Bilstein or Rancho.
Additional Items
Ah, we’re nearing the end of our list it seems. Some of the items listed above were already optional, but everything from here down is definitely optional. Be unique with rig; don’t stress about trying perfectly match everything on this list.
Fender Flares – Despite what some may think, flares aren’t just some aesthetic piece made to make your rig look more “aggressive”. I mean, if you don’t off-road I guess that could be the case, but that rule applies to off-road tires, too… Flares help cut down the amount of mud and rocks being thrown all over your vehicle and, potentially, into the windshield of the poor soul driving behind you. Wider flares also help keep you street legal as some states/municipalities are really strict about keeping wider tires covered. My truck came with Bushwacker already installed, so I’m sticking with that.
Storage Solutions – As you get deeper into off-roading, you’re going to start collecting stuff, going on longer adventures, living off-grid for days (maybe even weeks!?) at a time. You’ll need somewhere to put all that stuff, especially if you don’t have the comforts of an SUV to throw everything in. There are a million ways to store all the stuff you have in your rig; as a truck driver I’m starting with a simple DECKED* system. It’s a perfect base to start turning your vehicle into a full camping and off-roading beast.
*If you want to be real smart, instead of spending $1600+ on an actual DECKED system, just build one. There are a million guides on how to build a drawer system in whatever vehicle you can think of. Save yourself some cash and hit up IKEA and Home Depot to get started on your project.
Tuning
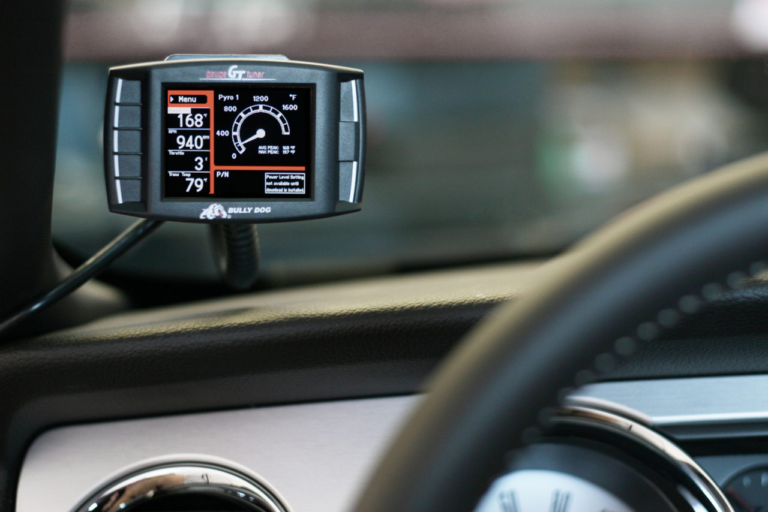
Tuner/Programmer – Yes, tuners aren’t just for ricers trying to spit fire, or diesel bros trying to roll coal. Tuning gives you more control over how your vehicle operates, and it doesn’t require having to stop by the mechanic for every little mod. With your bigger tires and extra weight, a tuner will help optimize your rig’s performance to handle better both on- and off-road. You can also manage everything from your fuel economy to improved torque for hauling and mudding. I’m going with Bully Dog for the custom tuning options available down the road. DiabloSport is also highly praised.
Final Thoughts
Well, you’ve reached the end. I guess that’s the end of our off-road build adventure — now it’s time to get off your computer, get off your phone, and get out there! Which, as I’ve mentioned a few times already, you should’ve been off-roading your rig anyways. You never know what parts you actually need until you get out there and see what your vehicle is capable of. This build list should allow you to tackle most off-road trails and routes, but some may consider it overkill, and I wouldn’t blame them. It really comes down to what you, as an individual, think you need, but hopefully this guide will be a strong foundation for you to build on.
Now, if you want to really go crazy, I’ll give you a truly gnarly overkill build. Just you wait…